Well, it’s been way too long since we’ve done a blog update, but for good reason. Mainly, because things have been running pretty smoothly and we’ve stayed busy! In fact, we have done tons of updates in the past year that you may not be aware of yet…
Here’s just a few highlights:
3D Models with HD Resolution
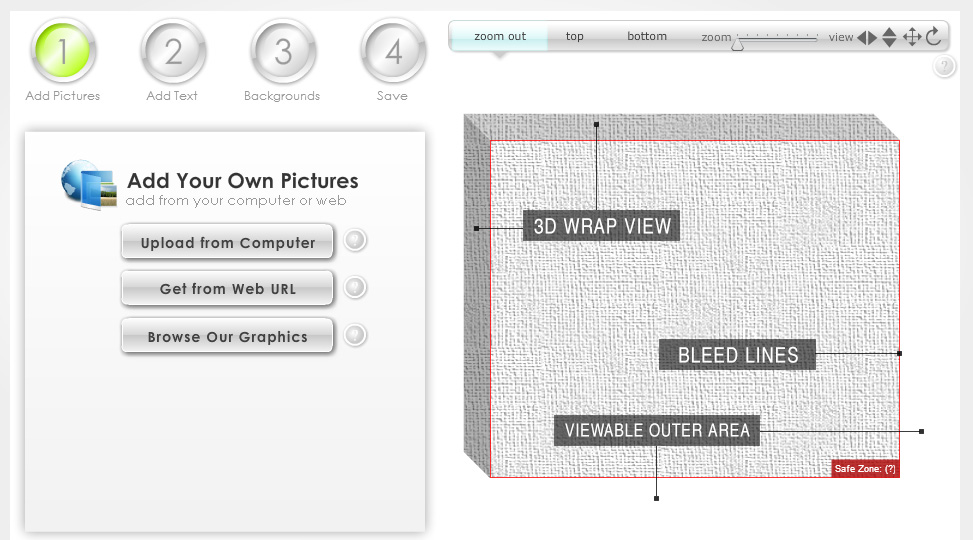
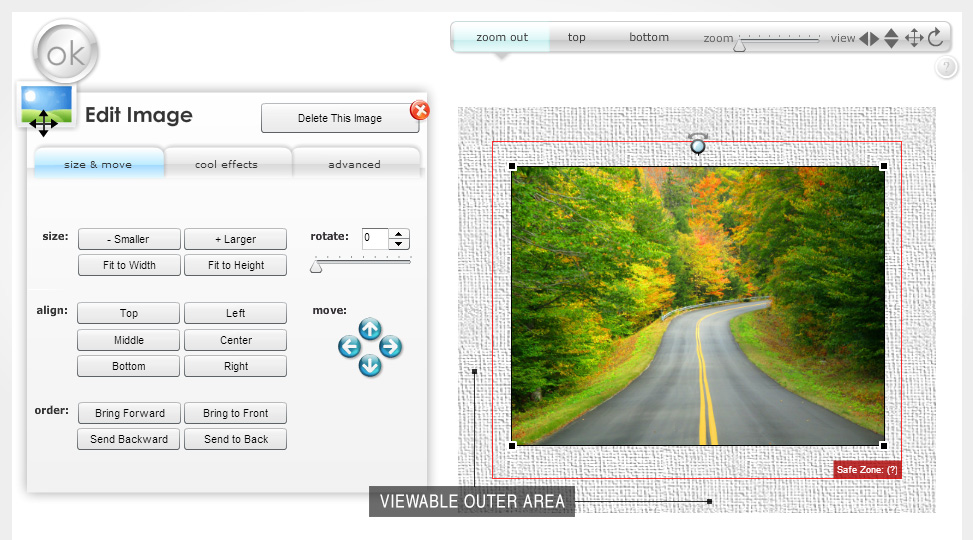
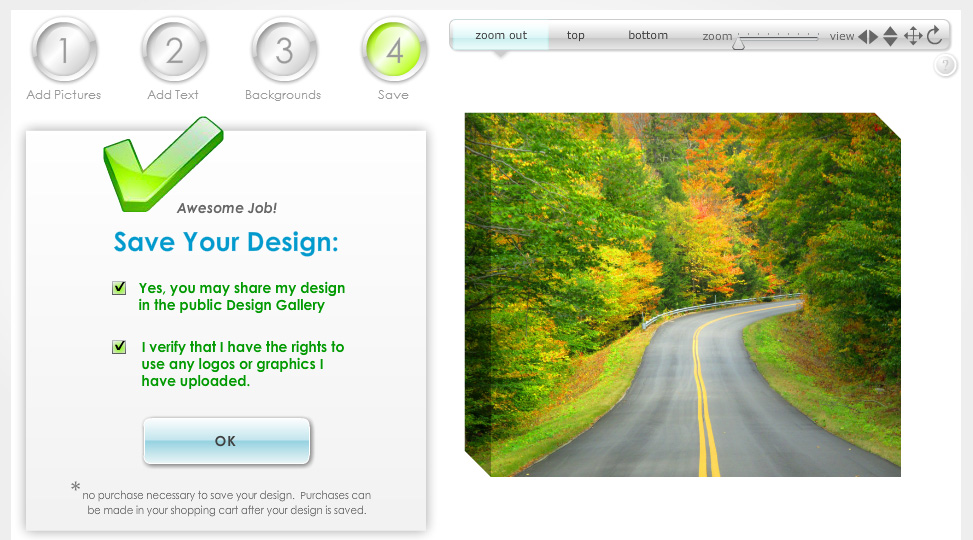
We have done a number of implementations with 3D previews both in-customizer and in-website, as well as in our Render and Configur8 apps as well. Typically we use a variety of traditional UX flows for the design or configuration options, and then visualize that in a 3D preview so that designing is still easy to do, but with the added bonus view in 3D so that it can be spun around in all directions, zoomed in and out, and inspected all in HD resolution.
Shopify Integrations
We often get asked about Shopify support. We now have a couple different ways of integrating and some completed working Shopify integrations that use our customizer for a full customization experience. For this we do not offer an “App” in Shopify since that comes with a lot of strings attached. Instead, for now at least, we have a VERY lightweight easy copy-paste integration that drops into the theme code and wa-la, you can enable any product for customization with our full design tools, and Render for print. This can be up and running in just a day or two.
Magento Integrations
We’re doing Magento integrations again but it’s only recommended for corporate clients. We can integrate with the current version of Magento very quickly and easily to add Customization or Configuration to products on the front end in ways that can carry through to ERP, OMS, etc.
Rendering Capabilities
We’ve made a number of special rendering capabilities for multi-sided layouts, PDF output, common page size wraps, editing and rotation options, and a whole bunch of other stuff to make print files come out the right way every time for specialized cases.
WordPress/WooCommerce Plugin Updates
Our WordPress/WooCommerce plugins continue to be our most robust solutions. This includes so much more than just customization and configuration, but also content management for saved designs, design collections, and built in growth strategies that you can really take advantage of to expand a site for growth.
And Much More
And, beyond this we’ve done a lot more, too. Contact us if you have any questions about your own ideas or needs for customization of your ecommerce products.